• Stacks Image 6

    Caption Text

    Link
  • Stacks Image 7

    Caption Text

    Link

Bare-Metal® Foil - Chroming A Figure's Head

Stacks Image 423
Micro Doc here... After much thought and several six-packs of Pepsi®... I'm a bit wired... So I decided it's time for another tip. Today's Tip is how to use Bare-Metal® Foil. What is Bare-Metal® Foil you ask. It is similar to foil that you use in the kitchen, with the exception of the following: It's Thinner, It is sticky on one side, and the metallic finish is more reflective then what you find in your traditional kitchen foil. The actual thickness of the foil is .0005 inches. Each Package contains two sheets of 6 inch by 12 inch foil and instructions how to use it.... But who really needs instructions...Were MICROMEN... We don't need no instructions...
Bare-Metal® Foil can be purchased on-line at Micro-Mark® (cool name for a small hobby store) It comes in two different colors. Ultra Bright Metal (#81636) or Matte Aluminum (#80795) These numbers are taken from the Late Winter Catalog 2001. They are subject to change without notice.

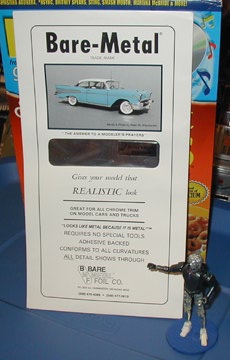
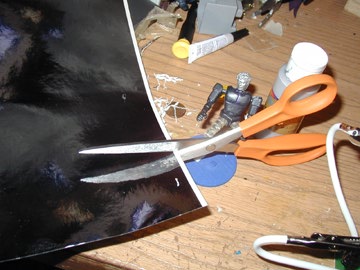
Well let's start with our little experiment... And like any experiment, we need a victim... um test subject... yeah, yeah that's it, a test subject. Here come our "Captive test subject now... Can't you just tell he is into bondage.
Stacks Image 431
Here we find my clone being refrained from movement by my torture device. Now that my victim... OOPS test subject is refrain from moving, lets begin.
Stacks Image 434
1. Cut a piece of Bare-Metal® foil out that will fully cover the part, or in this case... the head that will be covered. In this demonstration, I'll be cutting out a slightly larger piece because I want to demonstrate how to use it.
Stacks Image 437
2. Using your finger nail, soft cloth, toothpick or other pointed instrument (I prefer using the pointed instrument myself) Gently apply the foil to the part. Make sure that you place emphases around detail areas and smooth out the foil as best you can. Because my clone has lots of curly hair, I need a pointed instrument to trace those curls and his facial features.
Stacks Image 440
Okay, so we started applying the foil to the head. Let's take a closer look and see what my clone has to say about this whole process so far.
Stacks Image 443
MMMMM!!!!!!!!!!.....MMMMMM....MMMMMMMMM....MMMMMMM

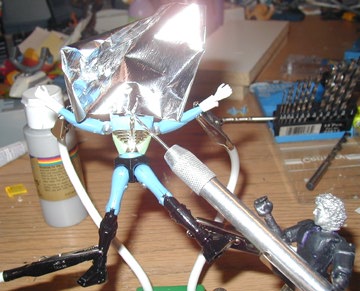
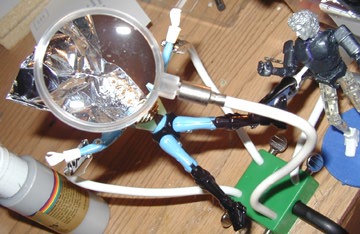
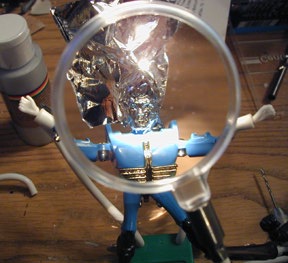
Well isn't he very communicative. As you can see in the above photo, the facial features are beginning to show through. When you do this be extremely careful not to punch holes in the foil. It is really easy to do that when working with the facial features.

Now just finish pressing down around the head and working in the details of the hair. When you have the entire head covered, trim off the excess foil. Flatten any remaining foil down so that you don't accidentally rip it off because of a loose seam.
Stacks Image 446
When you are all done, this is what you get. There's my cute mug on the left (painted with silver chrome paint) My clone on the left. My clone on the right sports his new dew by Bare-Metal® Foil.


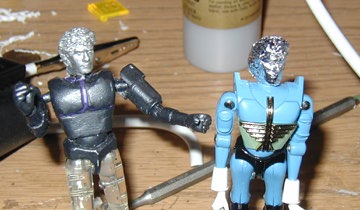
No Micromen were harmed or impaired in the making of this demonstration. This Demonstration was monitored by the Microman Humane Association..... and no Micro Doc didn't bribe us, send us hookers, and get us drunk and take incriminating photos of us.